Top Tips for Seasoning Wood for Fuel

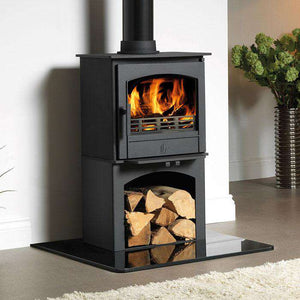
It is easy and convenient to purchase pre-seasoned wood and logs for your wood burning or multi-fuel stove, as many of these are readily available at many petrol stations and garden centres across the country.
But, have you ever wondered how easy it would be to season your own wood for use in your wood burning stove? Perhaps you have a farm nearby that often has wood for sale, or have an old tree in your back garden that you are looking to clear?
While sourcing your own wood for fuel may not be something that is possible for every wood burning or multi-fuel stove owner, it may be something that you’d like to consider in the future. Check out these top tips on how to properly season wood for fuel – we’ve done the research so you don’t have to!
Before You Start
Know the properties of your wood
The chances are that if you are looking to season your own firewood you already have a good idea of the type of wood that you would like to burn in your stove. How hot do you want your wood to burn? Do you want a big, medium or small sized flame?
Different types of wood take longer to season than others, so it is important to know the type of wood that you are buying or sourcing, and the properties of the tree it has come from, as well as the properties of the wood itself. Wood like oak can take a year or more to dry, and larger cuts of wood will take a long time as well.
Another important bit of information you need to know is exactly when the tree itself was felled. The time of year the tree was felled will contribute towards the amount of moisture in the wood. Trees cut down in summer retain a lot more moisture than those cut down in winter.
Knowing this information, and the expected moisture content of the wood, means you are accurately able to estimate the length of time needed to properly season the wood for burning.
Cut your wood to the right size
If you are cutting or splitting your own wood, it is good practice to cut this to the right size and length for your wood-burner before you begin the drying process.
By cutting the wood to the correct size, this creates a greater surface area for air to circulate around, and speeds up the drying process. The larger the piece of wood, the longer it will take to correctly season, and the longer it will be before it is ready for use. There’s no point waiting for wood to dry longer than you need to!

How to Dry Wood
Store your wood outside
Pick an outdoor space to store your wood that receives little to no shade if possible. This will maximise solar drying and speed up the seasoning process. It’s also important to make the most of the air by choosing a space in your garden that is open to winds and air currents. Try to avoid areas that are prone to flooding or standing water, as this will only delay the wood from drying correctly.
Do not store wood directly on the ground or against a wall
You do not want to store your wood directly on the bare ground, as this will delay the drying process and could cause your wood to rot instead of drying it out!
Create a base with material that won’t absorb water, such as concrete or a wooden pallet, and try to make this as level as possible. However, if you use wood, line the top of the base with tarps, plastic sheeting or similar materials to stop the transfer of moisture from the wood underneath to the wood on top.
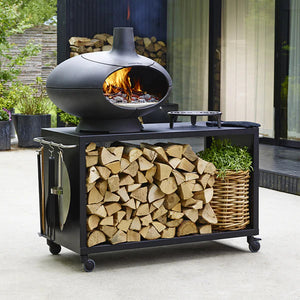
Stack wood in layers
Arrange your wood in as even layers as possible. The best approach is to arrange wood with the bark facing upwards, as this will shelter the exposed wood from any rain. Use smaller pieces of wood to fill any gaps when stability is needed, but don’t pack the wood too tightly! Airflow is needed through each layer to ensure the wood is fully dry.
Cover the top of the wood to allow shelter
Depending on the time of year, you may wish to cover your wood to protect it from rainfall. Should you decide to do this, use waterproof plastic sheeting and support the sheet away from the wood pile so it does not come into contact with the wood. This will allow air to circulate fully.
How to Test the Wood
Inspect the colour
Depending on your type of wood, you should expect the wood to grow darker as it dries. If the wood is light in colour to begin with, wait for the colour to fade into a yellow or greyish colour before burning.
Test the bark
If the bark has fallen off on its own, the wood will be safe for burning. If the bark is still in tack, slice some wood with a knife. Inspect the wood immediately underneath – if green needs more drying time

Use a Moisture Metre
If at any point during the wood seasoning process you are unsure about the moisture content of your wood, we would recommend investing in a moisture meter to gain accurate readings. This stove accessory is a cost-effective and easy to use device to ensure that you’re not burning wood too early.
We stock a great quality and completely affordable moisture metre here at Stove Supermarket which can be yours from only £19.99! This moisture metre measures moisture range throughout the seasoning process, from 40% to 3% to ensure you are not prematurely burning the fuel for your stove.
- Stove Reviews