How to build a wood store for your log burning stove

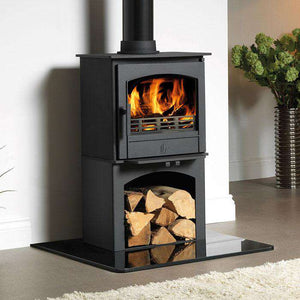
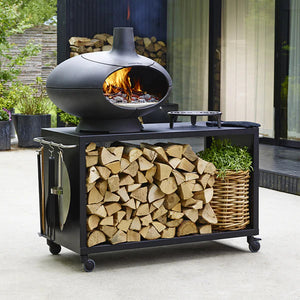
If you own or are planning to own a wood-burning stove, you are going to need a reliable wood store to protect your firewood. But there’s no need to spend money on an expensive shop-bought structure. Instead, follow these easy steps to build your own quality shelter using wooden pallets.
Before you start
Your first job is to source the wood pallets that you will need to build your wood store. Construction sites, supermarkets and industrial companies are usually more than happy to give these away for free, so it’s worth calling a few places first before you buy some. If you are unable to find anywhere with some spare, you can purchase them relatively cheaply from a number of wholesalers. You will also need four pieces of timber for your posts, a tin of preservative stain and plenty of nails to hold your structure together.
Making the base
Cut down the first pallet to your chosen width, making sure that it’s large enough to fit your usual load of logs. Stain the wood and then either place it directly onto the ground or put a layer of shingle underneath to allow for better drainage if it rains.
Create your corner posts
For the four main corner posts, we recommend a good quality timber that is again treated with pre-servative stain to avoid rot, weather wear and insect damage. Each post should be between 7 x 7 and 9 x 9 cm for optimum strength. Saw your four posts to your desired height and cut the four tops to an approximate 25mm angle. Drive these posts into the ground at the corners of your base (you can secure them with sand or cement if you wish). Make sure the two back posts are slightly higher than the front two so that the roof will sit at a slight angle, allowing rainwater to drain off easily.
Creating the sides and the back
Using another pallet, saw each horizontal slat into individual pieces of wood and treat with the stain. Using nails, secure each slat so that they run parallel to each other between the four wooden posts around the two sides and the back (leaving the front open so that you easy access to the logs). Make sure you leave gaps between each horizontal slat so that air can flow inside your store. When you have formed your side and back frames, fix one large diagonal slat from corner to corner on each of the three panels for extra stability.
Creating the roof
Use more individual slats to form the roof. Start by connecting the side posts with two vertical slats that follow the slope of the roof. These two roof supports should extend by about 30 cm over at the front of the store to allow rainwater to fall off. Then create the top of the roof by nailing longer, vertical slats across the top horizontally. Cover this roof panel with self-adhesive roof felt and hold it firmly in place with roofing nails.
And there you have it. Your brand-new stove wood store ready for the winter months.
If you have any questions or would like to enquire further about the products we sell, don’t hesitate to contact us on 01226 816 051 or via email sales@stovesupermarket.co.uk.
- Stovesupermarket Admin